CRITICAL 2026 UPDATE: The U.S. Visa Bond Requirement
Before we get into the step-by-step process, this is the most important thing you need to know about applying for a U.S. B1/B2 visa as a Nigerian in 2026.
Starting January 21, 2026, nationals of Nigeria who are found otherwise eligible for a B1/B2 visa must post a bond of up to $15,000. At the time of the interview, the consular officer will inform the applicant whether they are eligible for a visa and will provide instructions on how to pay the bond.
Citizens of the countries listed in the program, who are otherwise found eligible for a B-1/B-2 visitor visa, may be required to submit a refundable bond of $5,000, $10,000, or $15,000 as a condition of visa issuance. The exact amount is determined by a consular officer during the visa interview.
The bond amount is set during the visa interview process and must be paid online through the U.S. Treasury’s Pay.gov platform. Applicants must not use any third-party website for posting the bond.
The good news: the deposit will be refunded once travellers meet the conditions of their visa or cancel their trip, reinforcing compliance rather than serving as a penalty.
It should be noted that Nigeria is also subject to the current travel ban, meaning Nigerian nationals could not be issued a B visa – even with payment of a bond – unless eligible for a travel ban exception.
This is an evolving situation. Before you invest time and money into a B1/B2 application, verify the current status at ng.usembassy.gov and consult a trusted travel or immigration advisor. The information in this guide reflects the position as of March 2026 and is subject to change. For student (F-1) and work visas, the bond requirement and travel ban do not apply – making those pathways potentially more straightforward for eligible Nigerians right now.
Types of U.S. Visas Nigerians Apply For
There are several visas that Nigerians can apply for, including work visas, visitor/tourist visas, family visas, and student visas. Here are the most relevant types for first-time applicants:
B1/B2 Visitor Visa (Tourism & Business): The most commonly applied-for visa. Nigerians entering the United States briefly on a B-1/B-2 visiting visa are doing so for business (B-1) or pleasure (B-2) or medical treatment (B-2). Note the 2026 bond requirement described above before pursuing this route.
F-1 Student Visa: While attending a school, university, seminary, or conservatory, a student is able to temporarily reside in the United States with the help of an F-1 visa. All aspiring students must apply for a visa to study in the US unless they are citizens or holders of green cards.
Work Visas (H-1B and others): For Nigerians with a confirmed U.S. job offer from an employer who has petitioned on their behalf. Most often, a prospective employer submits a petition to U.S. Citizenship and Immigration Services (USCIS) for this kind of employment, and the employee still has to apply for a visa before travelling to the US.
U.S. Visa Requirements for Nigerians
Basic Requirements
- Valid Nigerian international passport — must be valid for at least 6 months beyond your intended period of stay in the U.S., with at least 2 blank pages
- DS-160 confirmation page (your completed nonimmigrant visa application form)
- Visa appointment confirmation letter
- One recent passport photograph meeting U.S. visa specifications (2″ x 2″, white background, neutral expression)
- Visa application fee payment receipt
Financial Requirements
- 3–6 months of personal bank statements showing consistent, organic balances
- Payslips or salary confirmation letters (for employed applicants)
- Business financial records (for business owners)
- Sponsor’s bank statements and a formal sponsorship letter (if someone else is funding your trip)
Supporting Documents
- Employment letter confirming your role, salary, length of employment, and approved leave
- Business registration documents (for entrepreneurs)
- Travel itinerary — planned activities, accommodation details, and return flight booking
- Invitation letter from your U.S. host (if visiting family or friends)
- Evidence of strong ties to Nigeria — property documents, family obligations, business interests, or long-term employment contracts
Step-by-Step U.S. Visa Application Process from Nigeria
Step 1: Determine the Right Visa Type
Getting a US Visa in Nigeria follows two main paths: nonimmigrant visas (temporary visits) and immigrant visas (permanent residency/green card). For most first-time applicants, a nonimmigrant visa is the appropriate route. Be precise about your purpose. Going for tourism? B-2. Accepted into a U.S. university? F-1. Have a U.S. job offer? Work visa. Applying for the wrong category is both a grounds for denial and a waste of your non-refundable fee.
Step 2: Fill the DS-160 Form
The next step is to complete the DS-160 Nonimmigrant Visa Application Form. The DS-160 is your primary application document — it captures your personal history, travel history, purpose of travel, and background information. Access it at ceac.state.gov.
Key tips for completing the DS-160 correctly:
- Save your application ID frequently — the form times out
- Spell your name exactly as it appears on your passport
- Starting April 22, 2025, all visa applicants in Abuja and Lagos must match DS-160 barcode numbers, or you won’t be allowed entry to the consular section — so use one DS-160 form consistently throughout your entire application
- Be thorough and truthful in every field, including social media handles (now required)
- Upload your U.S.-specification photograph directly on the form
Step 3: Pay the Visa Fee
The B1/B2 visa application fee is $185 USD, which is non-refundable regardless of whether your visa is approved or denied. Payment can be made via bank transfer at First Bank of Nigeria or by card.
At the current exchange rate of approximately ₦1,570/USD, the MRV (Machine-Readable Visa) fee is roughly ₦290,000. Keep your payment receipt – you will need the transaction number to schedule your appointment.
Step 4: Create a Profile and Schedule Your Appointment
The US visa appointment Nigeria login system moved to AVITS in August 2024, requiring new accounts for all interviews scheduled after August 26. Visit the AVITS website (usvisaappt.com) to create your profile. You’ll need your passport information, email address, and visa category. Enter your DS-160 confirmation number and payment receipt, then schedule your interview at the U.S. Embassy in Abuja or U.S. Consulate in Lagos.
Step 5: Attend Your Biometrics Appointment
At your scheduled appointment, you will visit the Visa Application Centre (VAC) before your embassy interview. Your fingerprints and digital photograph will be collected. Bring your passport, DS-160 confirmation, appointment letter, and all supporting documents. Arrive on time and dress appropriately.
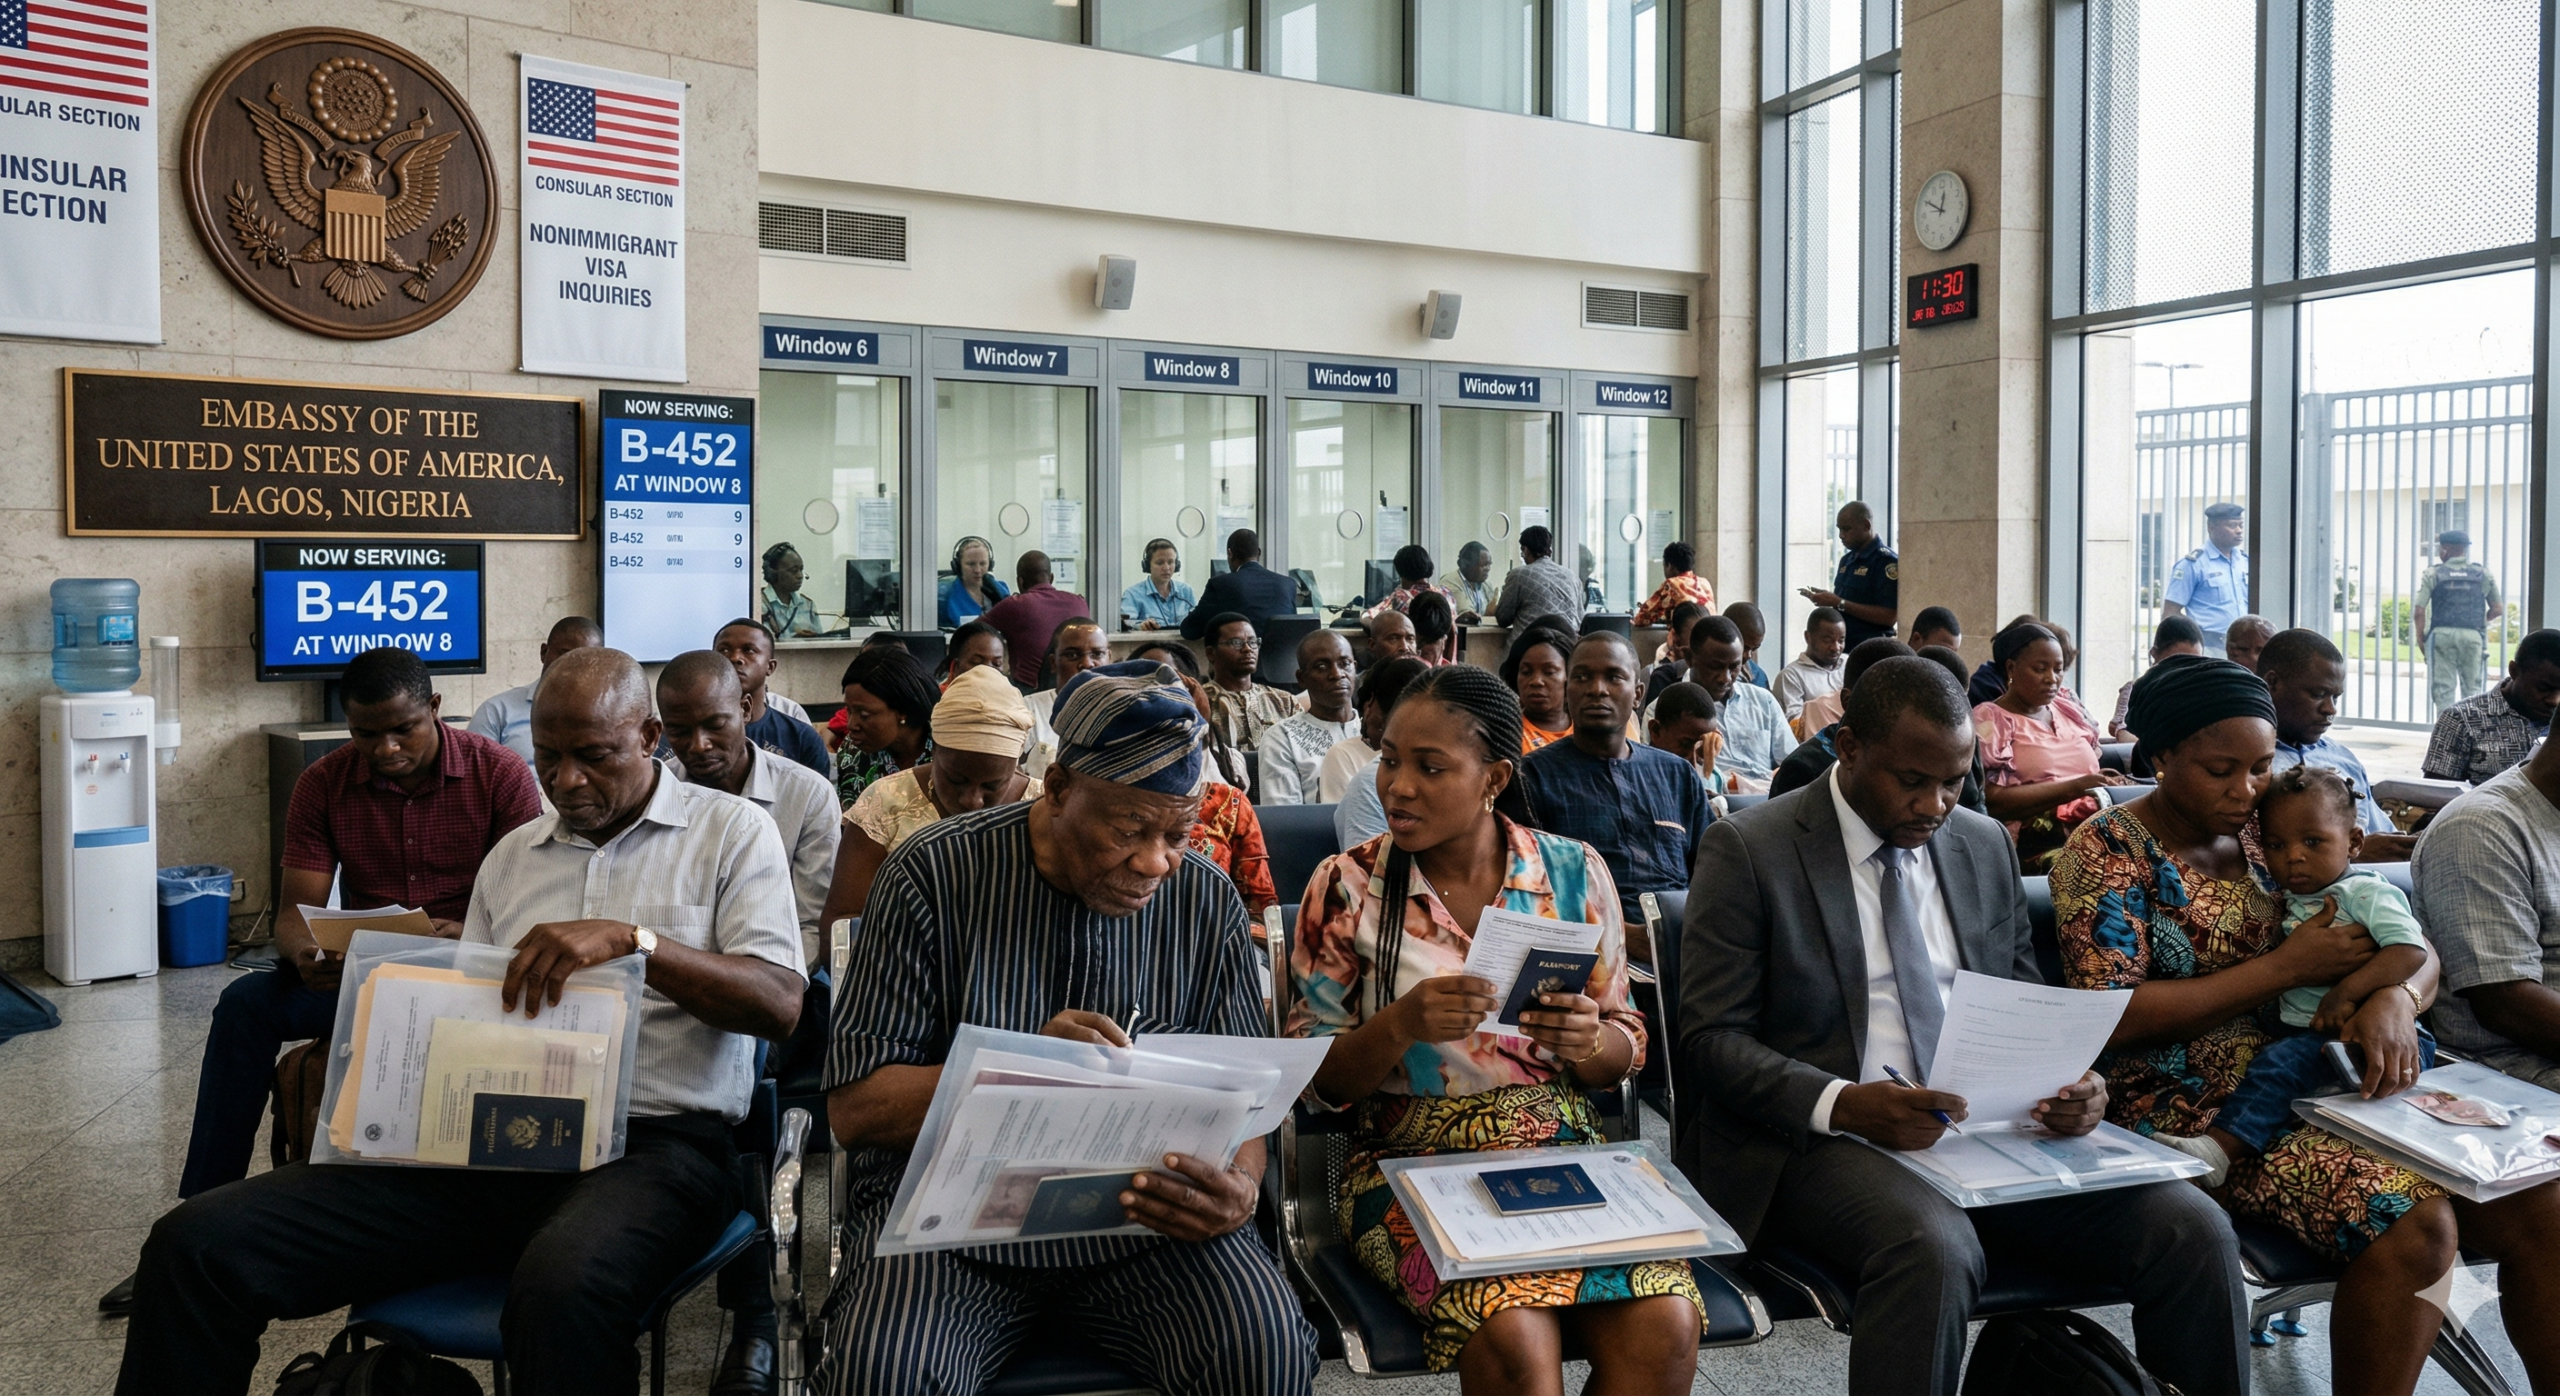
Step 6: Attend Your U.S. Embassy Interview
This is the most consequential step in the entire process. The interview takes place at either the U.S. Embassy in Abuja or the U.S. Consulate General in Lagos. The interview typically lasts 2–5 minutes. The consular officer will ask about your travel purpose, ties to Nigeria, financial situation, and intent to return. Answer confidently and honestly – more on this in the Interview Guide section below.
Lagos applicants since January 2025 follow a 2-visit process: Visit 1 for document review, and Visit 2 for the visa interview if documents are approved. Factor this into your planning.
Step 7: Wait for the Decision
After your interview, three outcomes are possible:
- Approved: Your passport is held for visa printing and return
- Refused: You receive a refusal letter citing the legal basis (most commonly Section 214(b) – insufficient ties to home country)
- Administrative Processing: Additional review is required. This can take weeks to months and is not necessarily a rejection
If denied, you will be told the reason under Section 214(b). You can reapply immediately, but should address the concerns. Wait until your circumstances genuinely change for better chances.
Step 8: Collect Your Passport
If approved, your passport with visa will typically be ready for pickup within 1–3 weeks. If additional administrative processing is required, it may take longer. Collect your passport from the VAC or arrange for courier delivery. Once it arrives, check every detail on the visa sticker – your name, dates, and visa class – and report any errors immediately.
U.S. Visa Interview Guide — The Section That Decides Everything
Common Interview Questions Nigerians Are Asked
- Why do you want to visit the United States?
- How long do you intend to stay?
- Who is paying for your trip?
- What do you do for a living in Nigeria?
- Do you have family in the U.S.?
- What ties do you have to Nigeria that will bring you back?
- Have you previously visited the U.S. or any other country?
How to Answer Confidently
Keep answers short, direct, and consistent with your application form. A consular officer has reviewed hundreds of files – they are not looking for a rehearsed speech, they are looking for honesty and clarity. Speak in plain language. Do not volunteer information you were not asked for. Do not contradict anything on your DS-160.
Good example: “I’m a marketing manager at XYZ company in Lagos. I’m going to visit New York for 10 days as a tourist. My company has granted me leave, and I have a return ticket.”
What NOT to Say
- “I have family in the U.S.” – without elaborating on your strong reasons to return to Nigeria
- Vague answers like “I just want to see America”
- Anything that contradicts your DS-160 or supporting documents
- “I might stay a bit longer if I enjoy it”
Dress and Presentation Tips
Dress professionally and conservatively. Business casual is appropriate for both men and women. Arrive composed, organized, and with your documents arranged in the correct order. Nervousness is understandable – but preparation is the cure for it.
Proof of Funds — What Nigerian Applicants Need to Know
There is no single published minimum amount the U.S. Embassy requires, but as a working benchmark, showing a consistent, accessible balance of $3,000–$7,000 (roughly ₦4.7 million–₦11 million) for a 2–3 week visit is a reasonable target – more for longer trips. The key is consistency, not just quantity.
Common mistakes Nigerians make:
- “Rocket funding” — depositing a large lump sum days before applying with no transaction history to explain it. This is one of the most common red flags for consular officers worldwide.
- Submitting only one month of statements
- Using a third party’s account without a clear, documented sponsorship arrangement
- Unclear or low-quality bank statement printouts
How to present your funds properly:
Show 3–6 months of unbroken, clearly printed bank statements with your full name and account number on every page. If a sponsor is funding your trip, provide their statements, a signed sponsor letter, and proof of your relationship to them. Self-employed applicants should supplement with business financial records.
U.S. Visa Fees & Processing Time (2026 Update)
| Visa Type | Application Fee (USD) | Approx. ₦ Equivalent* |
| B1/B2 Visitor Visa | $185 | ~₦290,000 |
| F-1 Student Visa | $185 | ~₦290,000 |
| H-1B Work Visa | $205+ | ~₦322,000+ |
| SEVIS Fee (F-1 students) | $350 | ~₦550,000 |
*Based on approximately ₦1,570/USD as of March 2026. Fees are non-refundable.
Processing times: After your interview, passport return typically takes 1–3 weeks if approved. Administrative processing can extend this to several weeks or months. There is no expedited processing option available to applicants applying from within Nigeria.
Appointment wait times: The US Embassy in Abuja and Consulate General in Lagos handle thousands of applications every month. Wait times for interview appointments fluctuate significantly — during peak periods (May–August), slots can be booked out months in advance. Check the AVITS system regularly and apply as early as possible.
Common Reasons U.S. Visas Get Denied — Especially for First-Time Applicants
The most common reason for refusal is that the consular officer was not convinced of your ties to Nigeria – based on your employment, family, property, or financial situation. Young, single applicants should emphasize career progression and future plans in Nigeria.
Other frequent causes of denial:
- Insufficient or suspicious proof of funds
- Inconsistent or contradictory information between the DS-160 and interview answers
- Weak or nonexistent travel history to other countries
- Vague, unconvincing travel purpose
- Poor interview performance — appearing rehearsed, nervous, or evasive
- Not having matching DS-160 barcode numbers, which since April 22, 2025 can result in not being allowed entry to the consular section
How to Increase Your U.S. Visa Approval Chances from Nigeria
- Be truthful and consistent throughout. Every answer at the interview must align with your DS-160 and supporting documents. Inconsistency is one of the fastest paths to refusal.
- Demonstrate strong ties to Nigeria. Show stable employment of 3+ years, property ownership, family dependents, or significant business interests. The consular officer must believe you have compelling reasons to return.
- Prepare thoroughly for your interview. Practice your answers to common questions, but speak naturally — not as if reciting a script. Clarity and calm confidence matter.
- Keep your answers short and direct. The interview typically lasts only 2–5 minutes. Volunteering extra information you weren’t asked for can create confusion or inconsistencies.
- Build your travel history first. If you have never traveled internationally, consider applying for a Schengen, UK, or UAE visa before your U.S. application. A history of respecting other countries’ visa conditions works strongly in your favor.
- Maintain consistent bank activity for at least 3–6 months before applying. Steady, organic financial activity is far more convincing than a large lump sum deposited shortly before submission.
- Never use fake or doctored documents. Providing false documents can result in permanent bans from the U.S. – not just rejection.
- Write a clear, specific cover letter. Outline exactly why you are traveling, what you will do, where you will stay, who you are visiting, and when and why you will return to Nigeria.
- Apply early — at least 3–4 months before your planned travel date, given current appointment wait times and processing windows.
- Stay informed about policy changes. The 2026 environment for Nigerian applicants is actively shifting – the bond requirement, travel ban discussions, and processing updates all affect your strategy.
Nigeria-Specific Insights
Lagos vs Abuja: Both cities have active U.S. visa processing locations. In Nigeria, the U.S. Embassy in Abuja does not process immigrant visa applicants – applicants from across Nigeria apply for immigrant visas at the U.S. Consulate General in Lagos. For nonimmigrant (visitor, student, work) visas, you can generally choose either location based on appointment availability. Lagos tends to have higher application volumes.
The 2-visit process in Lagos: Lagos applicants since January 2025 follow a 2-visit process – Visit 1 for document review, and Visit 2 for the visa interview if documents are approved. Budget time and transportation costs accordingly.
Long appointment wait times: This is the most consistent frustration for Nigerian applicants. Appointment slots, particularly in Lagos, fill up weeks or months in advance. Check the AVITS system frequently and consider setting appointment reminders. Do not wait until the last minute.
Common mistakes Nigerian applicants make:
- Applying too close to their planned travel date
- Providing statements from multiple accounts without a clear explanation linking them
- Giving vague or inconsistent answers about their employer or business
- Not reading the DS-160 confirmation before the interview day
Conclusion: Your U.S. Visa Journey Starts with Preparation
The U.S. visa process has never been simple – and in 2026, with new bond requirements and evolving policy changes, it demands more preparation than ever before. But preparation is exactly what separates the approvals from the denials.
To recap the key steps: determine your visa type, complete your DS-160 accurately, pay your fee, schedule your appointment early, prepare your documents meticulously, show strong ties to Nigeria, and walk into that interview confident and honest. And stay current with the latest updates – the landscape is moving fast.
If you are applying for the first time and feel uncertain about any part of this process – whether it is structuring your documents, understanding the bond requirement, or preparing for your interview – professional guidance can be the difference between an approval and an expensive lesson.
At Tbils Travels, we help Nigerians navigate every stage of the U.S. visa process with clarity, accuracy, and the kind of insight that only comes from years of experience. Reach out before you apply, not after a refusal.
Start early. Prepare well. The U.S. is achievable.
This guide is based on official U.S. Department of State and Embassy Nigeria information current as of March 2026. U.S. immigration policy is subject to rapid change in 2026 — always verify the latest requirements at ng.usembassy.gov and travel.state.gov before submitting your application.